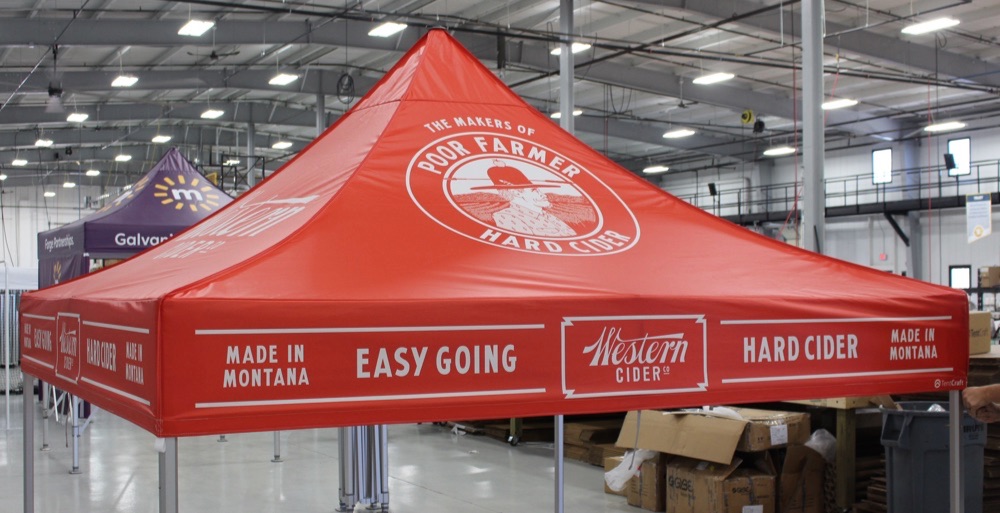
Example of a custom printed pop up canopy for Poor Farmer Hard Cider
Ever been inside a custom pop-up tent manufacturer’s building? I can’t speak for every vendor, but TentCraft manufactures every frame, print, canopy, and soft-good all under one roof in Michigan, so a lot is going on between these four walls. I’ve been hanging out here for a handful of years and today, I’m going to invite you in for a quick tour to check out how we make our pop-up tent canopies.
And spoiler alert: this isn’t necessarily the norm. We’re geared for premium quality so there’s a lot of bells and whistles.
Seams & Stitching
Each part of the tent canopy comes off the printer in giant sheets that are then moved over to a Zund machine and cut out by a laser (not kidding!). Once our sewing team gets their hands on the pieces – assuming this is a 10x10 pop-up tent - they’ve been cut out into the (4) triangular-shaped peak pieces, and (4) rectangular valance pieces.

Zund machine cutting out printed canopy pieces
Here’s how they go together:
Every seam is sewn by hand and double-stitched, meaning two rows of stitching that are about 0.5” apart for seam strength and durability.
Large stitches are certainly quicker and more efficient, but they’re not the best for water resistance. We use a tiny stitch that we’ve found keeps water out longer, which is kind of the point of a tent, right?
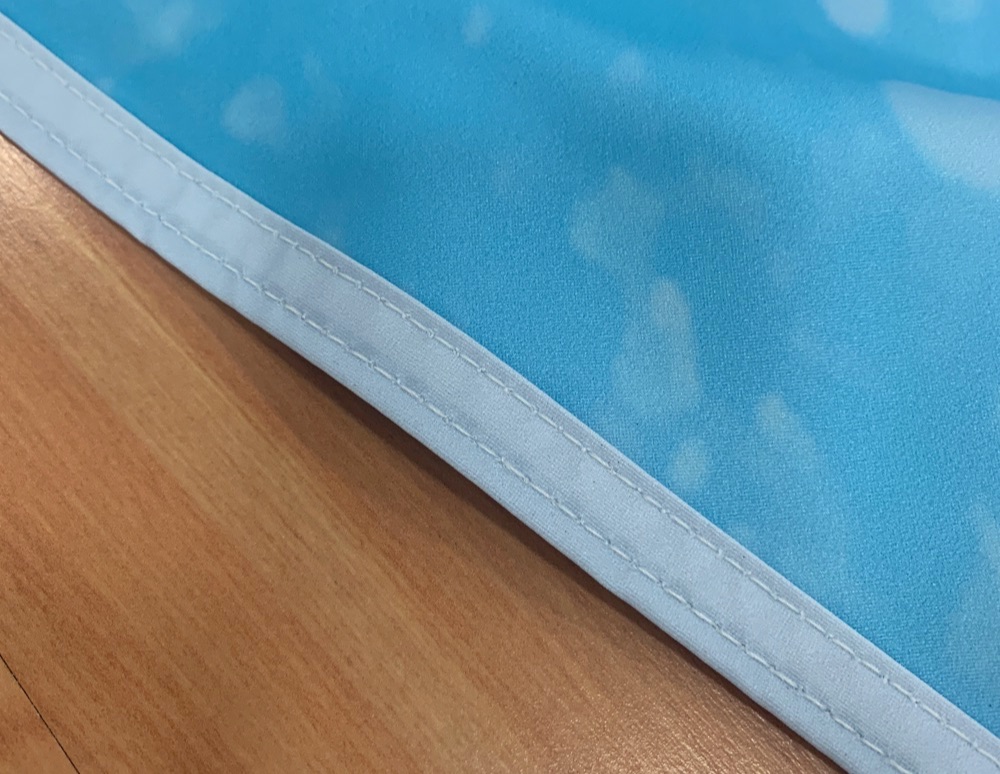
example of double-stitching on the pop up canopy valance
Seams that connect peak to peak are sewn on the exterior with binding to protect from any water intrusion. Seams that connect peak to valance are sewn on the interior. This eliminates the threat of water pooling on top and eventually leaking through.
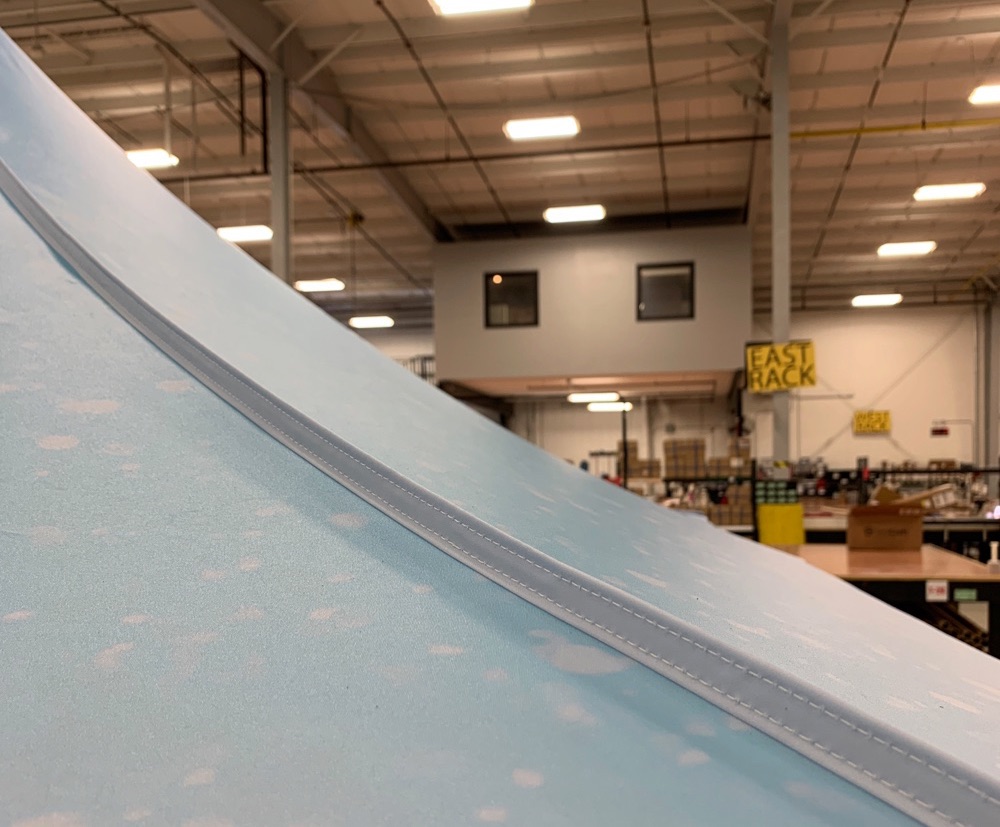
example of double-stitching on the canopy peak
Vinyl Reinforcements
Once the peak and valance pieces have been sewn together, now it’s time to plug in some reinforcements to really protect the canopy.
All four corners are reinforced with a piece of vinyl so there is no direct contact between the frame and the canopy. This is to prevent friction or rubbing
- • In addition to vinyl reinforcements, we also add a heavy-duty strip of white Velcro which wraps around each tent leg to eliminate shifting and movement
- • There are also vinyl reinforcements added to the peak on both tent models, so the peak poles don’t directly rub the canopy material
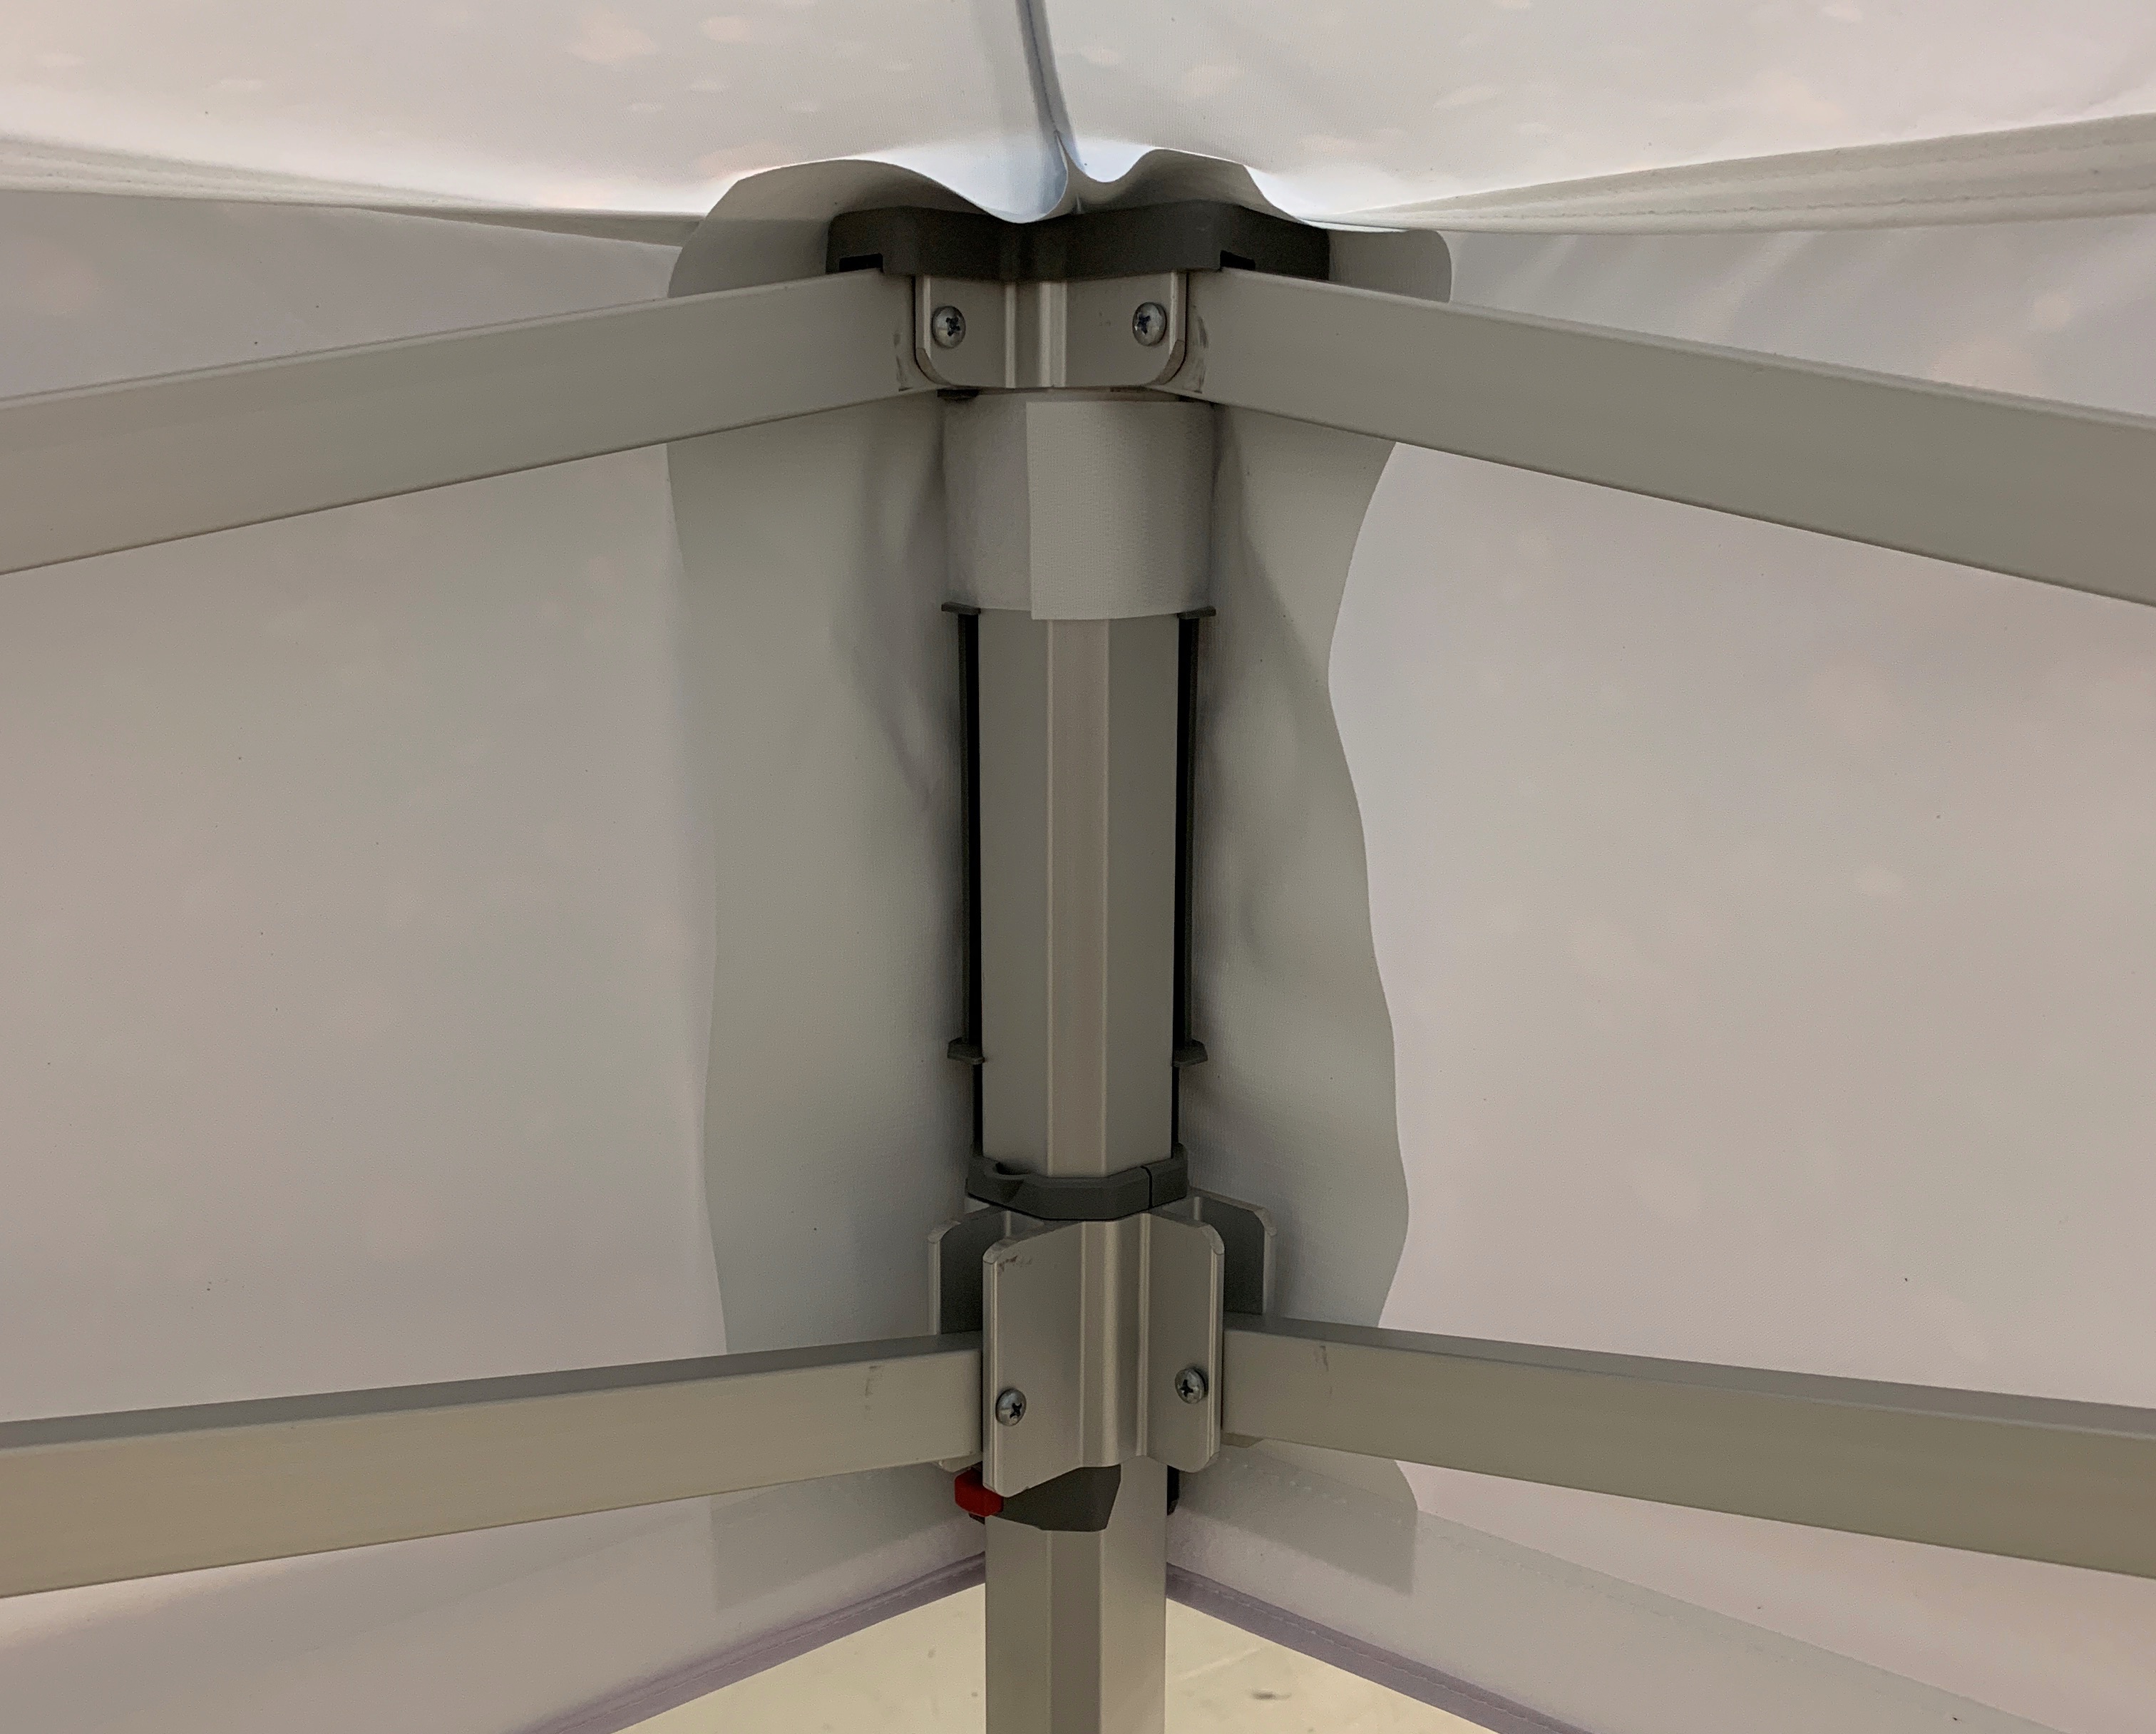
Example of vinyl reinforcements in the canopy corners where there is greater tension
Valance Features
Front and center, the vertical space of the valance is your pop-up tent’s billboard. So, let’s make that look like the rock star branding real estate that it is.
The valances measure 15.5’’ tall. That probably sounds huge, especially if you’ve ever had a tent from another vendor. It is big, and it’s pretty out of the box, specific to our tents. This provides a ton of useable space for branding and gives a bit of tension stability to the frame.
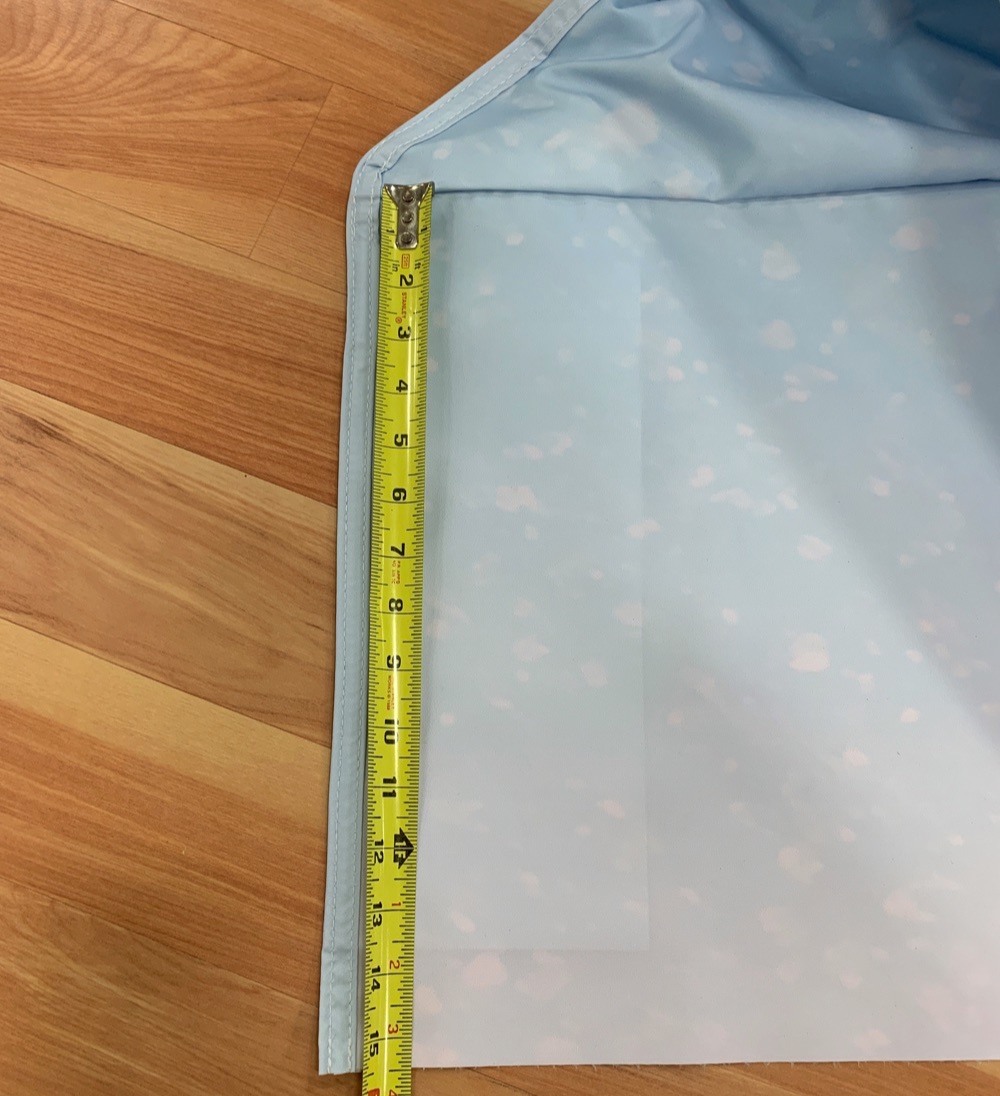
The valances on our pop up tents are 15.5"
Valance tensioning straps—another feature that is unique to TentCraft—are sewn to the center of every valance with a piece of reinforced vinyl between the canopy and the strap which allow our clients to tighten or loosen the canopy during various weather conditions.
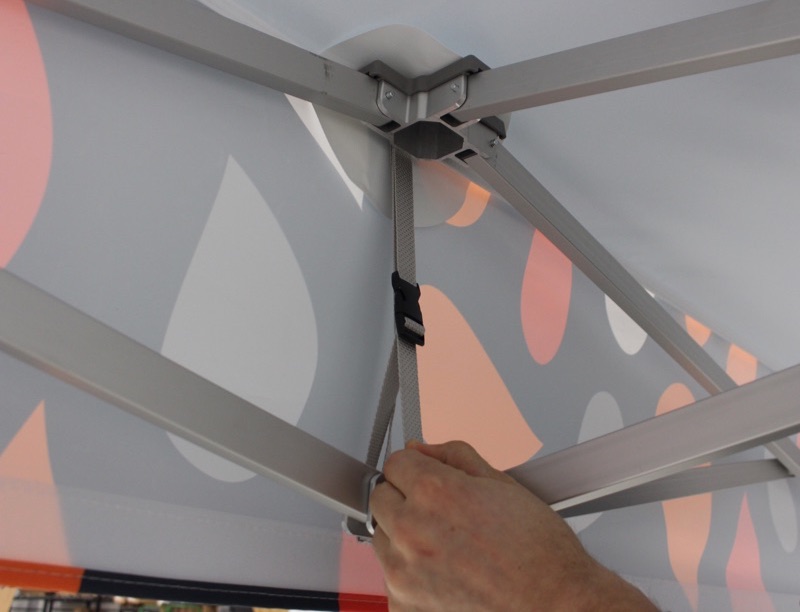
Valance tensioning straps for pop up canopy
The Extras
There’s a heavy-duty strip of Velcro sewn with double stitching to the interior perimeter of every valance so that tent walls, ordered now or later, can be attached via Velcro to the inside of every canopy. This Velcro strip is used versus standard loops or grommets to ensure the tent walls lay flat and wrinkle-free for a professional look. It also eliminates the chance of wind and rain from passing through.
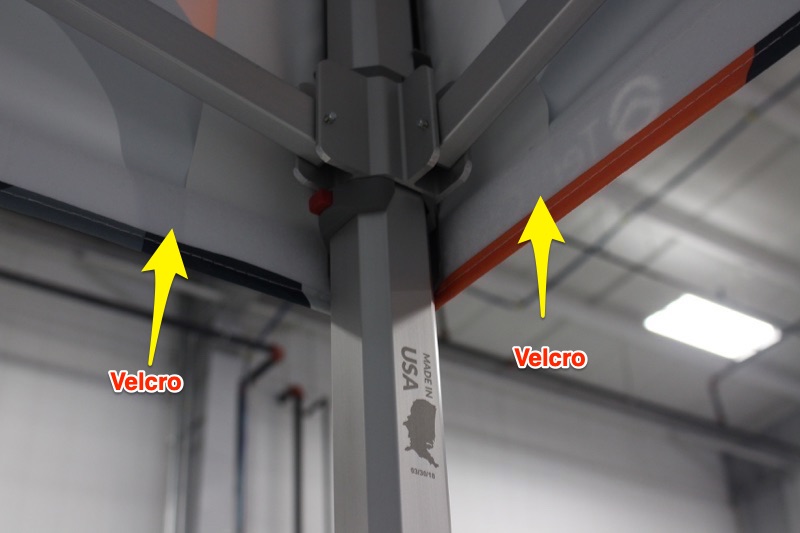
Velcro is added to the inside of the valance allowing you to attach sidewalls
4’’ loops are added to all 4 corners of every canopy with reinforced stitching to allow for the straps and stakes to be used. These are located in the corners where there’s a seam to eliminate tugging and pulling.
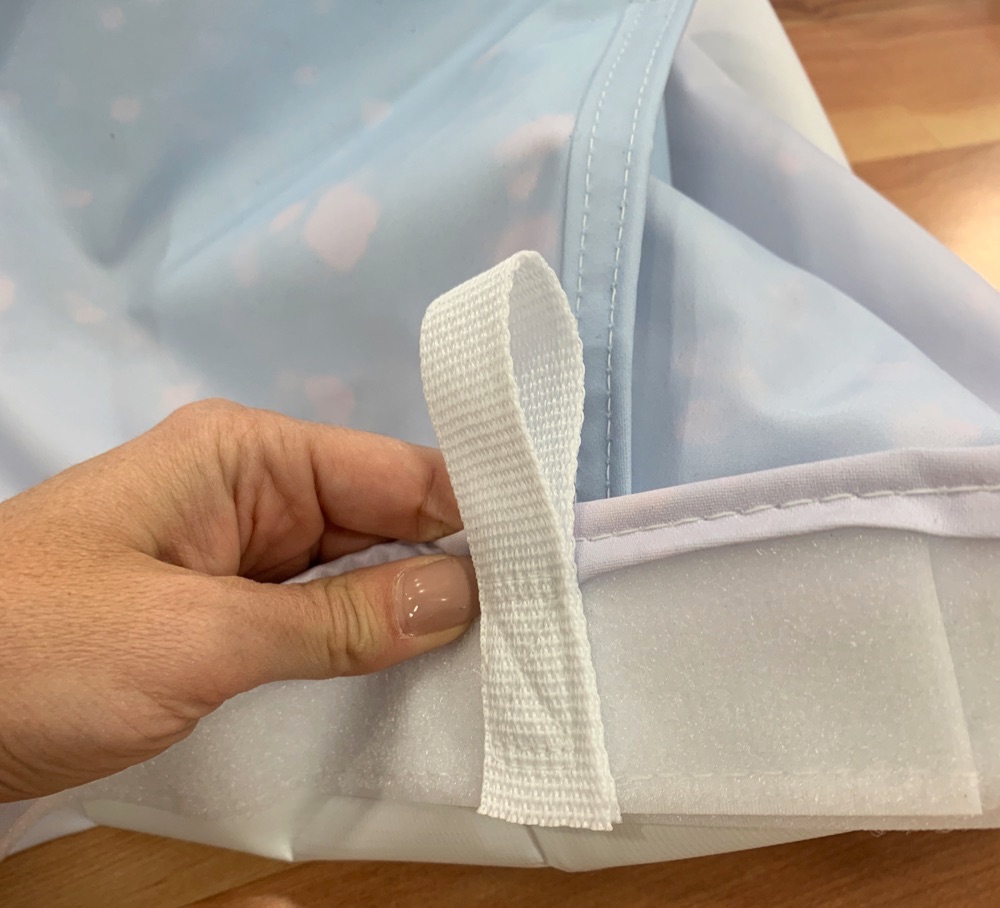
Corner canopy loops for staking down your pop up canopy
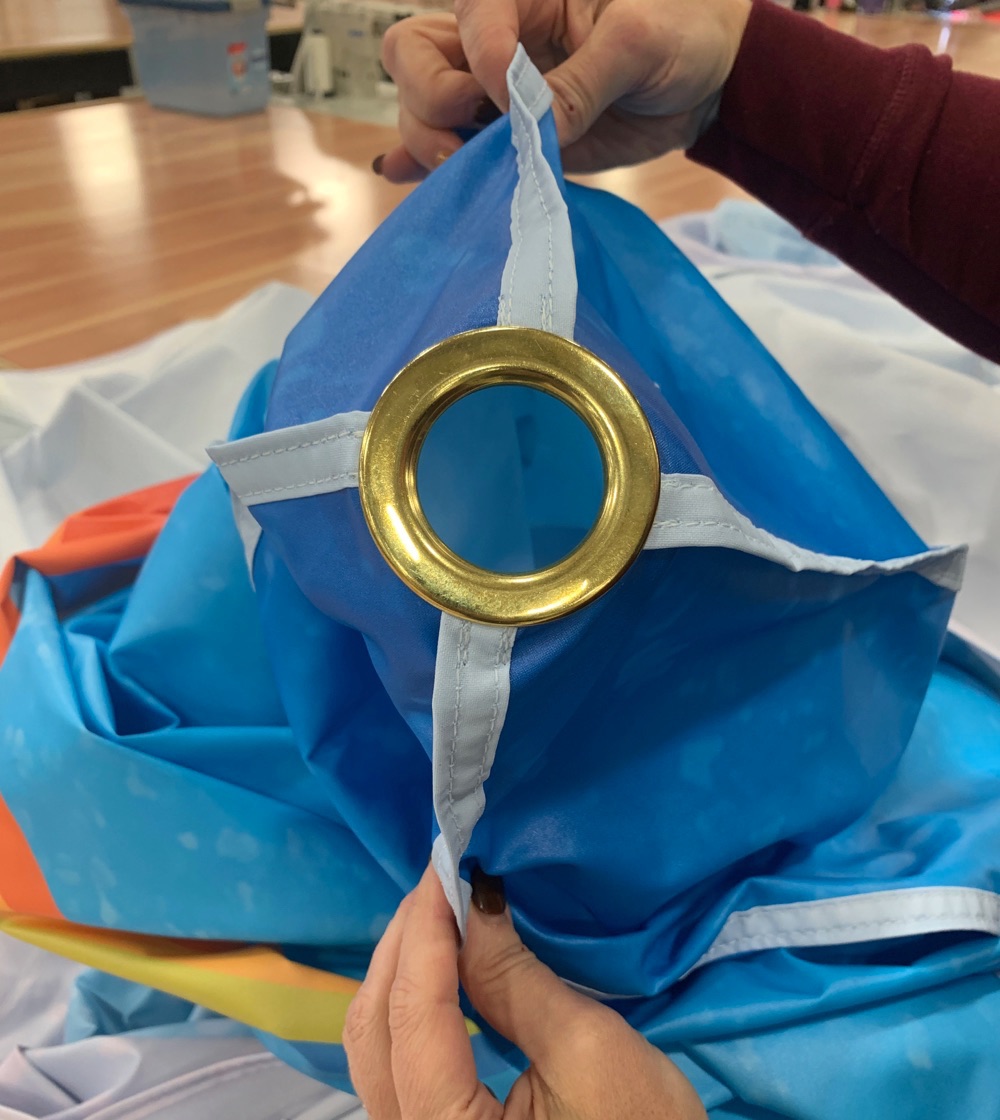
Grommets are used at the peak to reinforce strength and prevent tearing near the high-tension area
And there you have it, the walk-through version of how our custom pop-up canopies are made to order. For each 10x10 canopy, this process takes roughly one hour, start to finish. Then we fit the canopy on the frame and send it out to its forever home!

